Quick answer: The American Academy of Dermatology recommends cleaning makeup brushes about every 7–10 days. Wash the bristle tips gently with lukewarm water and shampoo, rinse clean, and dry brushes flat rather than upright.
A fresh-looking makeup bag can hide a problem: brushes gradually collect skin oils, makeup residue and dirt. For readers who want simple skincare after 40, keeping reusable tools clean is a practical step that does not require luxury products. This article follows the AAD’s published washing method and explains what to do with it in everyday life. Proper hygiene reduces avoidable contamination, but it does not make tools sterile or guarantee that acne, irritation or infection will never occur.
Why brush hygiene deserves its own routine
A makeup brush repeatedly touches your face, product and storage area. The American Academy of Dermatology warns that dirty brushes can harbor microbes and contribute to acne, rashes and sometimes infection. Cleaning makes sense regardless of age, skin tone or the price of the makeup used.
The aim is to reduce buildup and keep a consistent habit, not to make readers frightened of routine makeup. If you already have inflamed or damaged skin, ask a qualified dermatologist about cosmetic use and appropriate care.
Step 1 — Set a realistic 7–10 day reminder
Makeup Brush Care
1. Rinse bristles: Keep the brush handle mostly dry.
2. Clean gently: Use a suitable mild cleanser.
3. Dry thoroughly: Lay brushes safely to air dry.
The AAD suggests washing makeup brushes every seven to ten days. This is a general cleaning recommendation, not a test of your personal skin condition. Choose a recurring day that fits your schedule and adjust for heavy use, visible soiling or special situations.
A date on a paper calendar or a note beside the mirror may be enough. You do not need a subscription, expensive sanitizer or complicated tracking system.
Step 2 — Rinse the bristle tips, not the entire handle
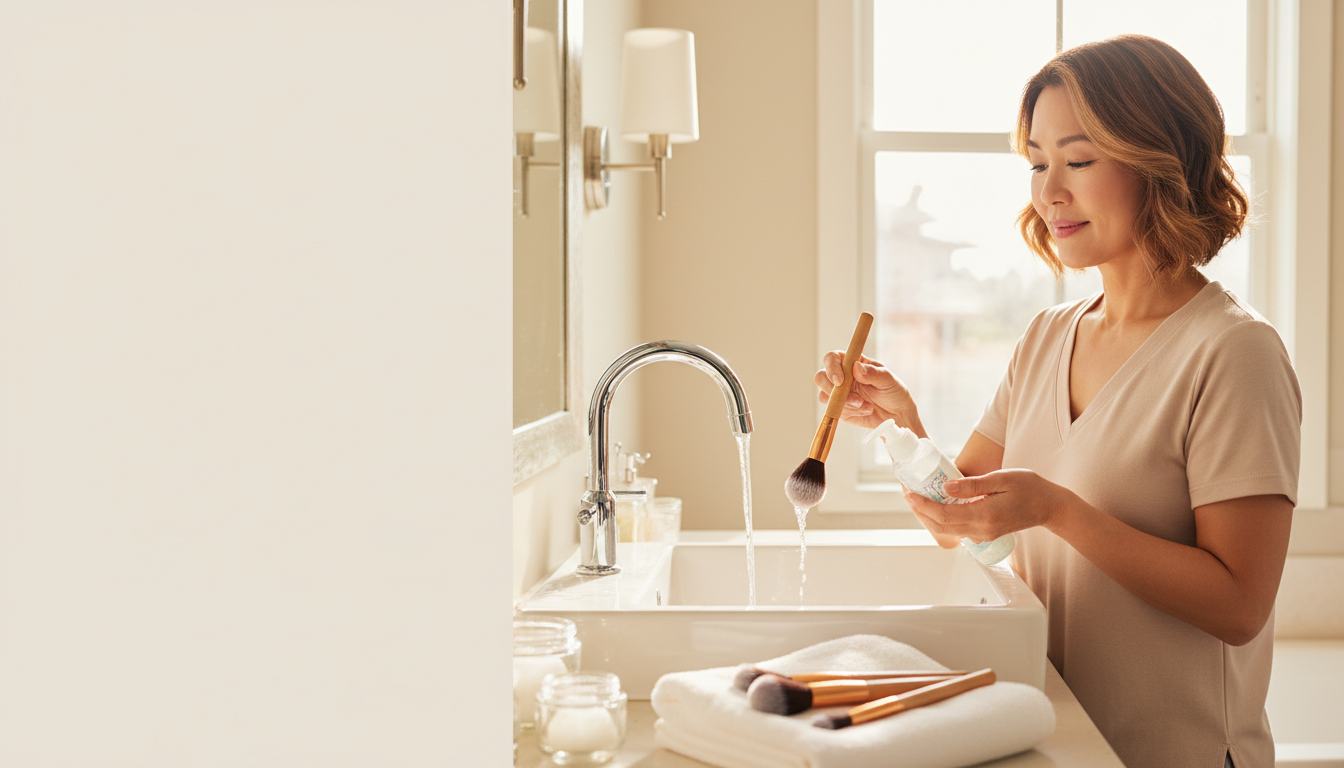
Hold the brush with its bristles pointing downward. Rinse only the tips under lukewarm running water to remove residual makeup. The AAD warns that submerging the entire brush head can loosen the glue connecting the brush head and handle.
Hot water and rough handling are not necessary. If a brush is damaged, shedding heavily or difficult to clean, consider whether it is time to replace it.
Step 3 — Use a gentle shampoo mixture
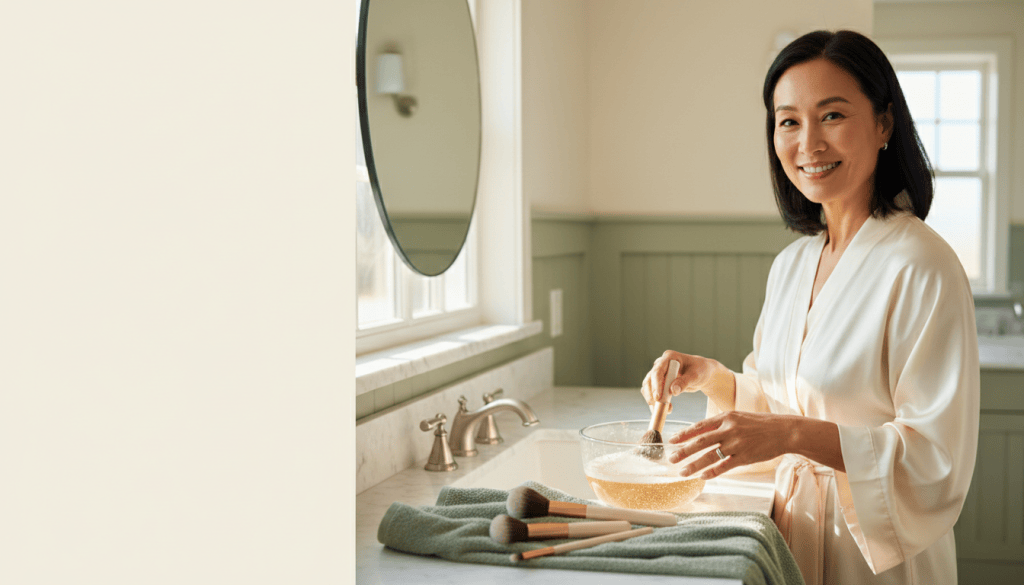
Fill a clean bowl with lukewarm water and a small amount of gentle or clarifying shampoo, following the AAD’s method. Swirl each brush tip in the mixture and massage the bristles gently, such as against the palm, to create a lather.
Avoid using harsh household cleaning chemicals on tools that will touch your face. A cosmetic tool is not the place for improvised combinations of cleaners.
Step 4 — Rinse until the water runs clear
Rinse the bristle tips under running water, repeating the gentle shampoo-and-rinse process if residue remains. The goal is to remove makeup and cleaning product rather than leaving either on the bristles.
Keep the water directed away from the metal joint and handle when possible. A brush that still feels sticky or smells unusual after cleaning may need more care or replacement.
Step 5 — Remove excess water without twisting
Gently squeeze away moisture using a clean, dry paper towel. Do not aggressively twist the bristles or pull on them. A light blotting action is easier on the fibers and brush shape.
Some brushes use special materials or construction. Follow the manufacturer’s additional care directions when they are more specific.
Step 6 — Dry the brush flat with bristles over the edge
Place the brush flat on a clean towel with the bristle tips hanging over the edge of a counter, as the AAD recommends. Avoid standing wet brushes upright, which can let water travel into the handle and loosen the glue.
Let the brush dry thoroughly before using or storing it. Do not return damp brushes to a closed makeup bag. Choose a clean drying location away from pets and household spills.
Step 7 — Store clean brushes and avoid sharing
Once completely dry, keep brushes in an accessible, clean container or bag. Avoid sharing makeup brushes, especially when someone has an active skin or eye infection. The AAD advises against sharing brushes because of infection risk.
Separate obviously used tools from freshly washed ones. Replace a brush when it is frayed or no longer functions properly; there is no need to replace every brush after a fixed number of weeks if it remains clean and usable.
What about sponges, eyelash tools and eye makeup?
Brushes and sponges may have different manufacturer instructions. Disposable applicators should not be reused contrary to their labeling. Eye makeup requires particular care when symptoms of infection are present; don’t assume a quick spray makes all products sterile.
If you experience a painful eye, swollen eyelid, new rash, or persistent irritation after using a cosmetic tool, stop using the suspected item and seek medical advice. This cleaning guide cannot diagnose the cause.
A ten-minute cleaning routine that fits your schedule
Place the brushes you used most in a small container and set out a clean bowl, gentle shampoo and towel. Wash one brush at a time following the steps above, then leave all brushes flat to dry. The exact wash time varies by brush size and buildup, and drying may take longer than the active cleaning.
Treat your regular cleaning day as a simple maintenance appointment with your belongings. If it becomes difficult to keep up, consider fewer reusable brushes rather than purchasing more organizers.
What this habit cannot promise
Clean tools do not rule out allergic contact dermatitis, acne, rosacea, eye conditions or other skin concerns. If a new makeup product is irritating, investigate the product itself as well as the applicator. A board-certified dermatologist can help with persistent or recurrent problems.
Your Seven-Step Makeup Brush Cleaning Checklist
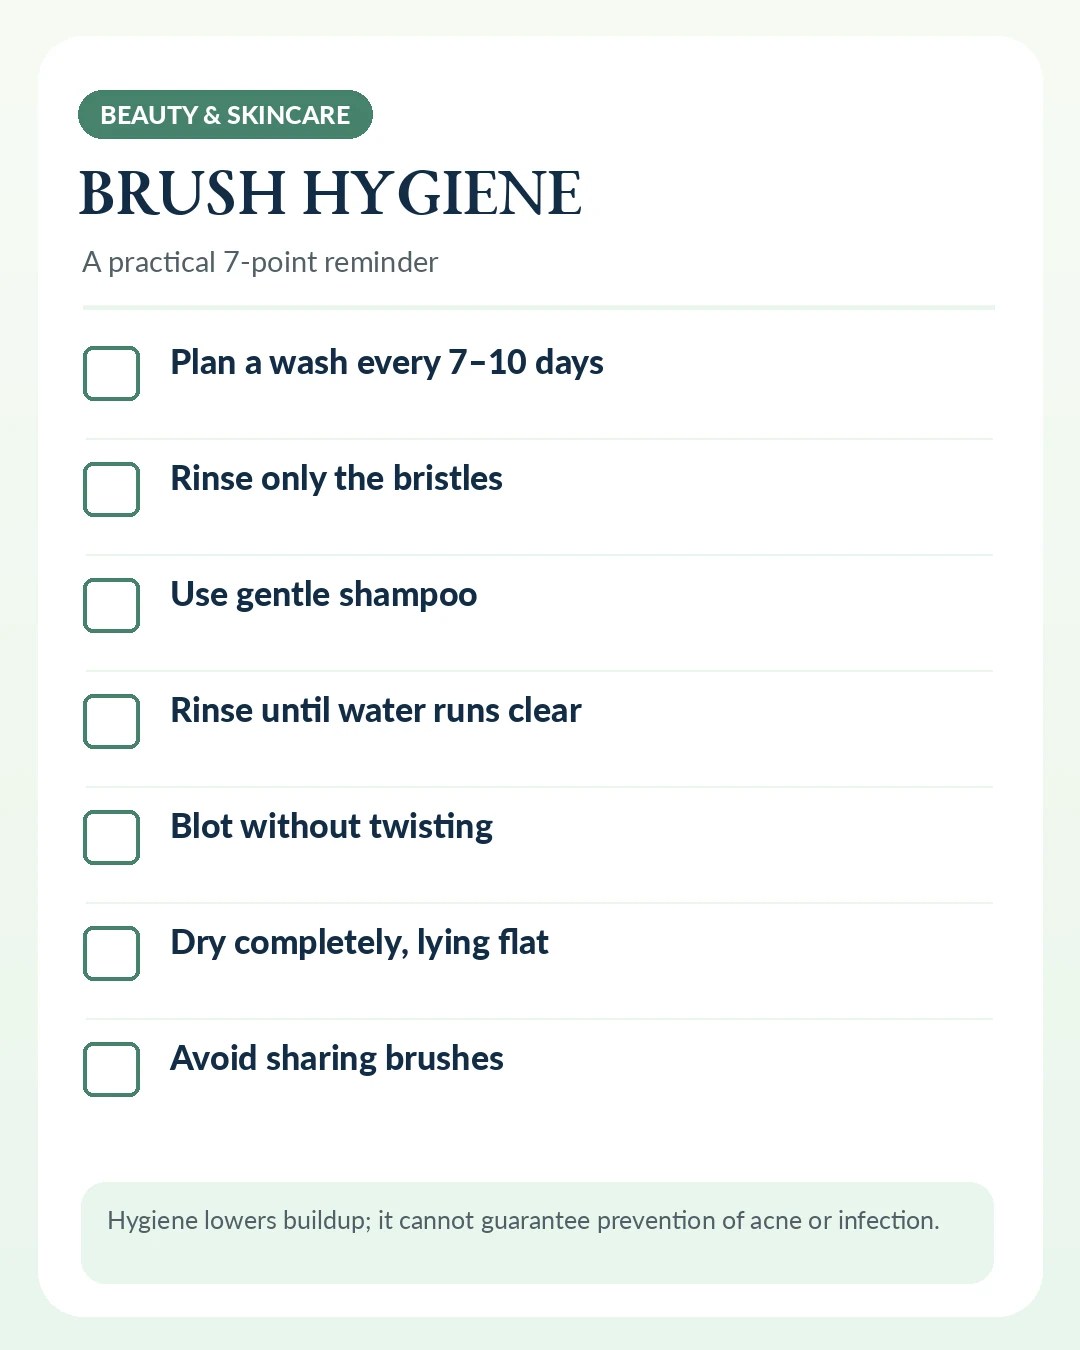
- Set a reminder to wash brushes about every 7–10 days.
- Rinse only the bristle tips with lukewarm water.
- Swirl bristles in a gentle shampoo mixture.
- Rinse repeatedly until water runs clear.
- Blot or squeeze gently with a clean towel.
- Lay brushes flat to dry, tips off the edge.
- Store completely dry and do not share brushes.
Frequently Asked Questions
Can I disinfect brushes with a quick spray instead of washing?
A spray is not a substitute for following a suitable cleaning procedure; use the brush maker’s instructions and the AAD’s gentle wash-and-dry method.
Will cleaning stop all breakouts?
No. Clean brushes may reduce one source of dirt and microbes, but breakouts and rashes have many possible causes. Persistent symptoms warrant professional guidance.
Should I buy an expensive brush-cleaning machine?
No special machine is required to follow the AAD’s published steps. A bowl, lukewarm water, suitable shampoo and a clean towel may be sufficient.
Official Sources
Read Next
- How to Test a New Skincare Product — Review new-product irritation precautions.
- How to Read Skincare Product Labels After 40 — Understand directions and ingredient lists.
- A Simple Skincare Routine for Your 40s and 50s — Keep daily care manageable.
Editorial note: General cosmetic hygiene education, not a treatment or diagnosis of acne, rash or infection. Illustrations are educational and do not depict a verified medical outcome, professional inspection, or product endorsement. No medical expert review is claimed.
